Adobe Muse CC 2017 做了很多功能优化,如支持64位,提供与InDesign 和 Illustrator更为统一的设计体验,时支持Retina 显示器这类的高分辨率硬件,可以充分利用最新的网页浏览器以及Mavericks OS X 等操作系统更新。这款偏重于视觉设计的网站设计开发工具Muse可以帮助不会或者不愿意写代码的设计者轻松创建精彩网站。
Adobe Muse CC 2017 很适合那些习惯于传统出版平面设计的人,借助Muse,他们可以用自己习惯的方式设计网站。Muse可以和InDesign深度整合,轻松创建交互,自动生成符合网络标准的 HTML 代码。Muse用项目的方式管理网站,如果你对网站代码要求不太高的话,网站设计制作到发布的确不用写任何代码。这样,设计师可以把精力完全放在设计上,不懂代码也可以制作、发布网站。
Adobe Muse CC 2017输出时可以为整个网站启用高 DPI,也可以按用户需要选择部分特定元素使用高DPI,比如单一视频或公司标志等。Adobe Muse CC 2017还可让用户在网站上设置切换高 DPI 显示的开关,这样,网速较慢的客户就能使用标准版本的网站,缩短载入网站所需时间。
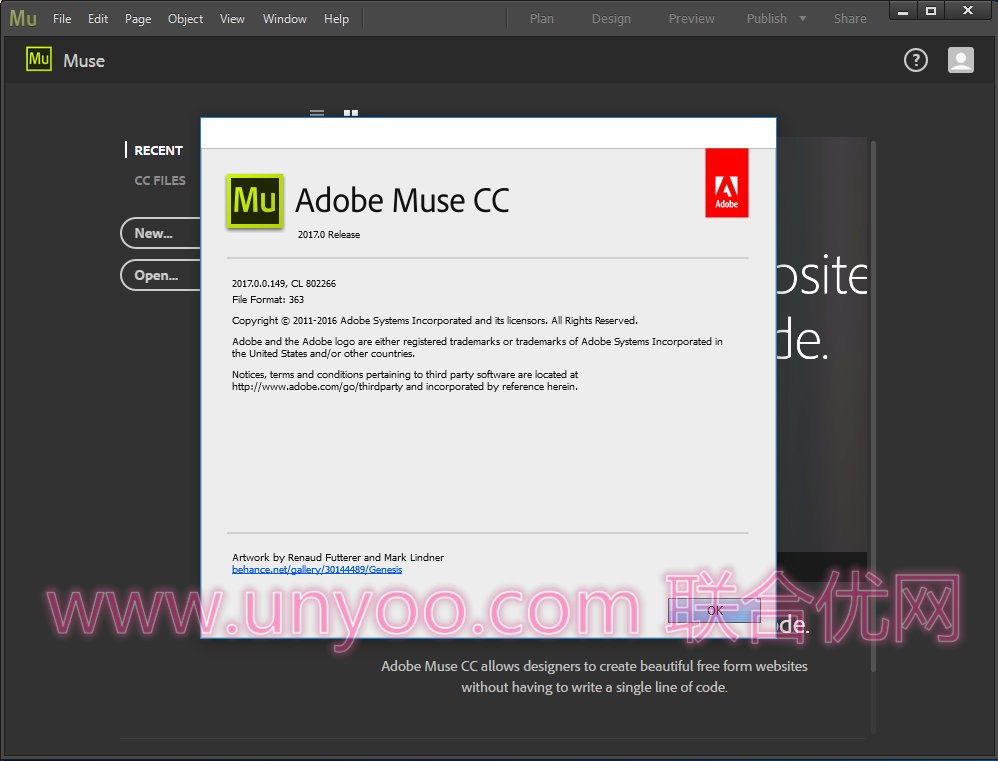
Adobe Muse CC 2017 的用户界面颜色主题可以从浅色调成深色。如果选取深色主题,画布会保持白色。这样的明暗对比可让用户完全专注在设计上而非界面上。类似 Photoshop、Illustrator 和 InDesign,用户可以从浅色到深色四种主题中选择自己喜欢的。较深的Adobe Muse主题中画布会维持为白色,让用户能够专心注视在设计上,而不是在界面上。
新的 Adobe Muse 工作区现在可供自定义,更加符合用户的设计需求。用户现在拥有解除固定和重新组织面板的弹性,还可以开启多个“设计”视图窗口来进行并排设计。这在同时处理桌面和移动版面时非常实用,可以在版面之间复制和贴上通用的内容。
用户现在可以显示横跨浏览器窗口左右边缘的幻灯片展示视频,但高度有限,才不会填满浏览器窗口。调整浏览器窗口大小时,幻灯片展示会自动配合调整。用户可以控制全屏幕宽度幻灯片展示的高度,以便将屏幕空间做最佳利用。
Adobe Muse CC 2017 release (November 2016)
The Adobe Muse CC 2017 release brings in several enhancements, including the support for animations through CC Libraries, power zoom functionality, support for Google reCAPTCHA version 2, and much more. Read on to know more about the new features, and links that offer more learning resources.
Power zoom
The new Power Zoom feature in Adobe Muse enables you to view and edit specific areas in your page layout. If you are in a client meeting, and you want to make runtime changes to your website, you can use the Power Zoom feature. This feature allows you to focus on specific areas in the Design View. You can quickly zoom out and zoom in on different areas in your page layout to perform quick edits.
To use the Power Zoom feature:
1、Click the Hand tool in the Adobe Muse toolbar.
2、Press the Alt key and hold down the mouse button. The Design View of your site zooms out, offering a full view of your layout. A red box appears, indicating the view area. Release the mouse button to zoom in on the view area.
3、Press the Alt key and use the mouse button to drag the view area to the desired location in your page.Release the mouse button to zoom in on the desired view area.
Add animations using CC Libraries
You can now place animations in your Adobe Muse websites using Creative Cloud Libraries. Previously, you had to process an animation (OAM) file to your Library and then use the file in your Adobe Muse website. Now, you have to simply drag the animation files from the CC Libraries panel into Adobe Muse Design view.
You can also share your animations and collaborate with other Creative Cloud users using CC Libraries. To know how to add and use animations using CC Libraries
Add Library items with breakpoints
Until the previous release, you could use Library items in your website by dragging the items into your layout. Now, when you place a Library item with breakpoints in your layout, the breakpoints are automatically added to the page.
You can use this feature to add multiple breakpoints with a single click. You can also use this feature to add a set of breakpoints across multiple Adobe Muse files.
To add page elements with breakpoints, simply click the plus symbol next to the Library item, and drag the item into the Design panel. The breakpoints are automatically added to your page.
Share your website URL with a single click
The new Share menu on top of the workspace allows you to easily share the URL of your published website as well as the URL to edit your site content. After you publish your site, click Share.
Support for Google reCAPTCHA (version 2)
Adobe Muse CC 2017 release supports Google reCAPTCHA v2. Earlier, you were able to configure and use Google reCAPTCHA v1 for your contact forms. However, Google stopped issuing the private keys for version 1, and has released reCAPTCHA v2.
To add the latest reCAPTCHA version to your forms, add the contact form from the widget library, and click the blue arrow next to the form. In the Options pop-up menu, select reCAPTCHA v2 from the Captcha drop-down list. The reCAPTCHA field (Image Verification) is now added to the form.
软件下载地址:

 龙软天下
龙软天下

















评论前必须登录!
立即登录 注册本站